

Getting the Plane on Wheels
Normally gear don’t go on this early in the build because they must be removed to cover and paint. Additionally, the aircraft typically needs to be level to set up the wings. I’ve decided to put them on for a few reasons.
The gear and wheels are almost installed!
Normally gear don’t go on this early in the build because they must be removed to cover and paint. Additionally, the aircraft typically needs to be level to set up the wings. I’ve decided to put them on for a few reasons. First, I wont have to level the plane to put my wings on because my wings are already built and rigged for me. Second, I want the plane to be movable and the gear make a great rolling sawhorse.

Kitfox Shock Monster 2.0 viewed from the tail.
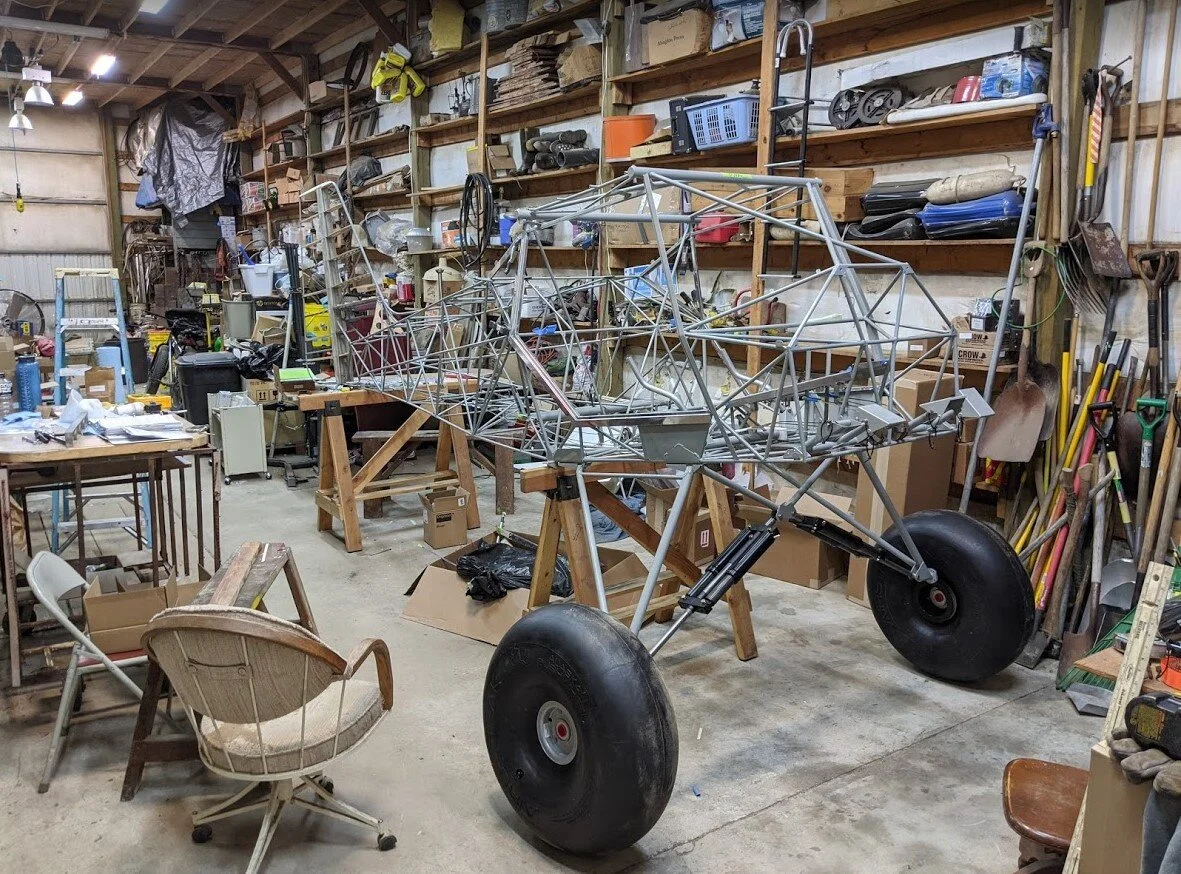
We started the process by putting the wheels in the tires which was not easy. The wheels have to be squeezed into place and the provided bolts are not long enough to do the trick. We used a much longer bolt to do the initial compression of the whee and tightened it down until we could thread the actual bolts on. At first, it seemed like the tire was not seated correctly, but after adding a little air, they filled in nicely. As we added pressure the wheels almost doubled in size!
The install of the gear was pretty straight forward. We of course had to do some reaming of all the bolt holes and we sanded off substantial powder coat. We first got the mount plates and cabane V installed. Then we attached the main gear legs. Instructions for this step were completely omitted from the manual but it was easy enough to assemble. Then we attached the Shock Monster Gear. The provided bolts for the gear were larger than the provided holes so we actually had to re-drill the holes to accommodate the larger size. We then installed axles and brake calipers. And finally the wheels went on.

The T-3 Tailwheel installed!
The next step was the tail wheel. I got the T-3 tail spring. The whole assembly pretty much just bolts right on after some light reaming. It took a bit of finagling to get the bolts through and tightened. The instructions were also lacking for this step because the factory only provides guidance for the standard tail wheel.

Finally we took the plane off the sawhorses and stood her up on her own 3 feet! The suspension didn’t sag at all because it is designed for the full weight of a finished aircraft so the plane sits higher than it will when it is finished.
We finished the day off by installing master cylinders for the breaks and shaping the foam on the ends of the elevator, horizontal stab, and rudder.